Miniatures & Supplies Needed
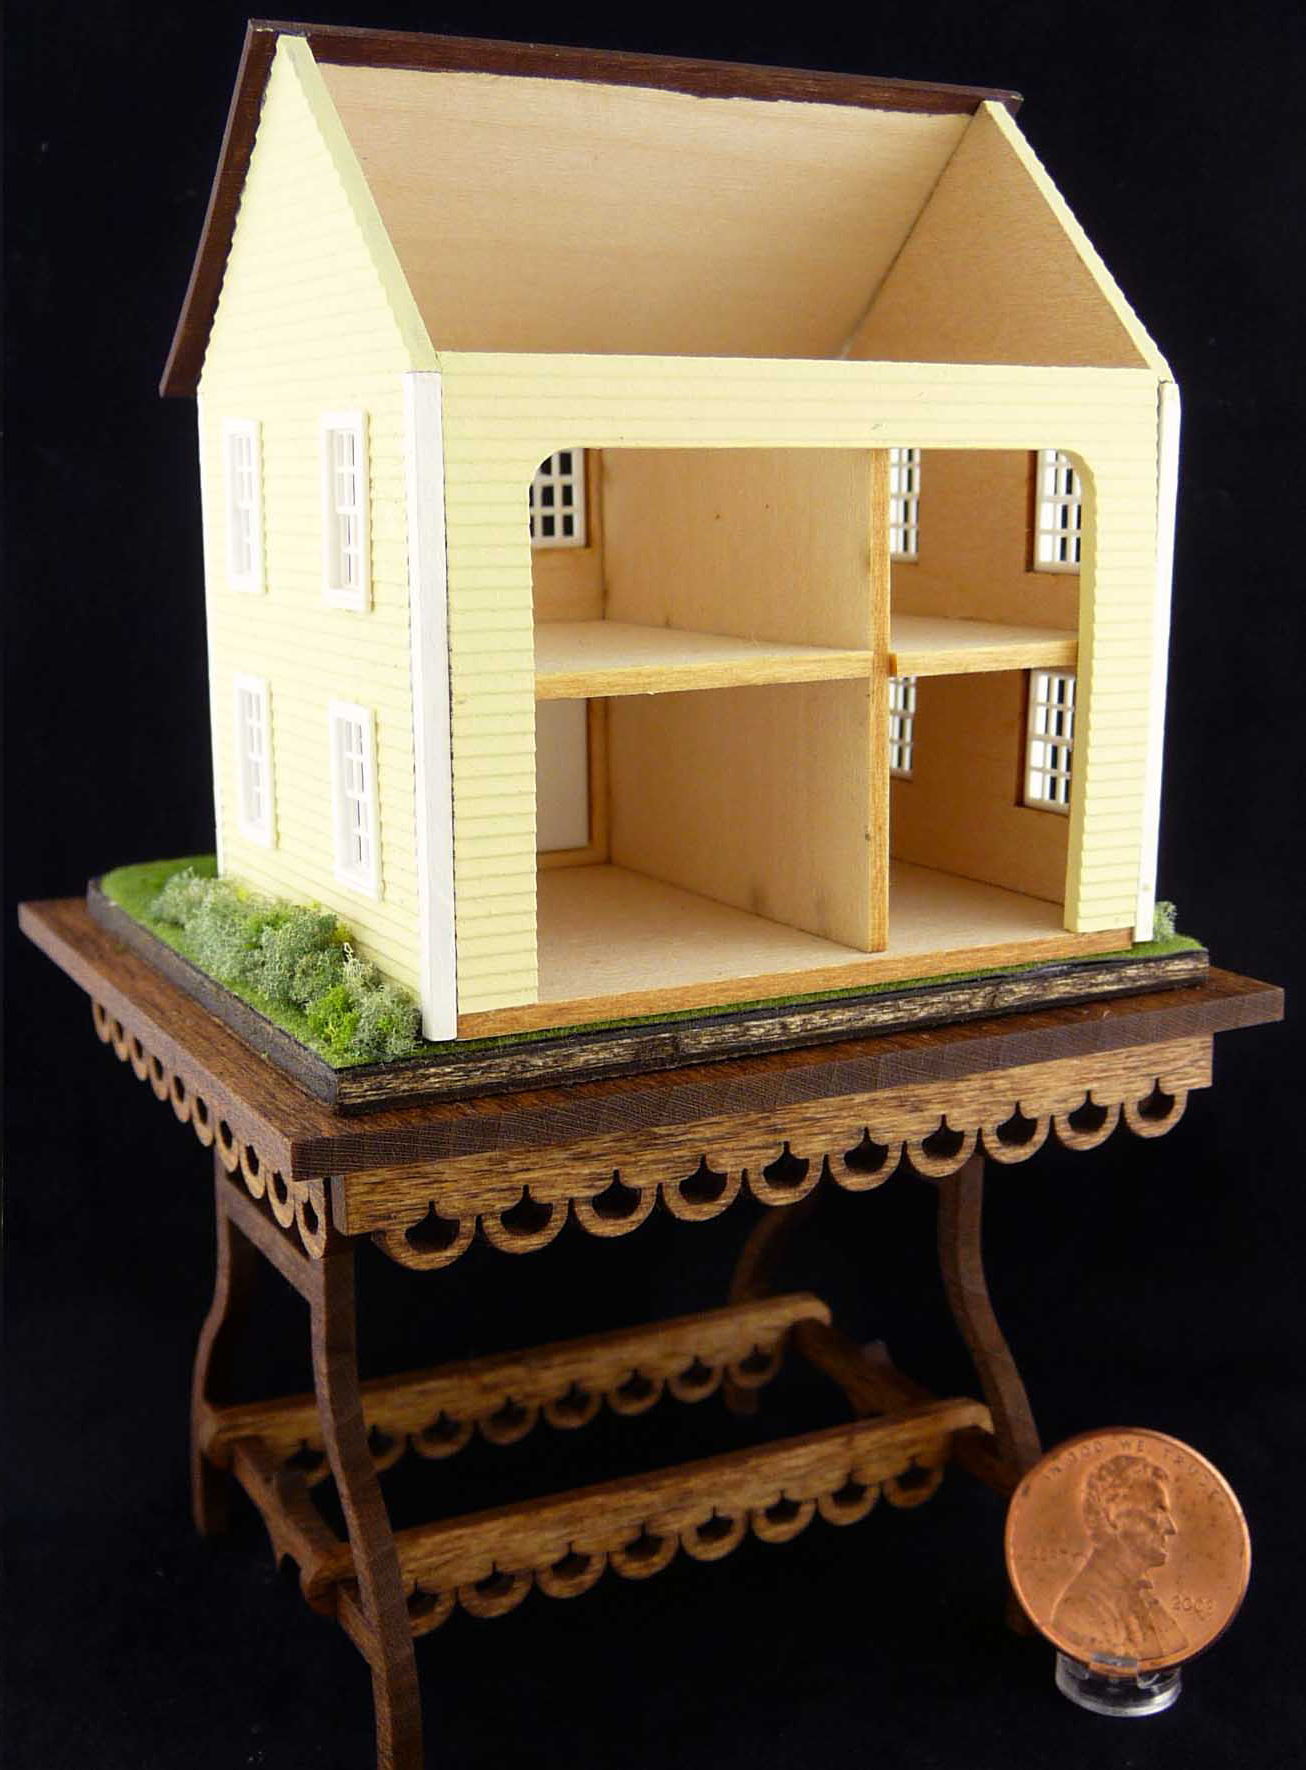
North Eastern Scale Models Dollhouse for a Dollhouse Kit
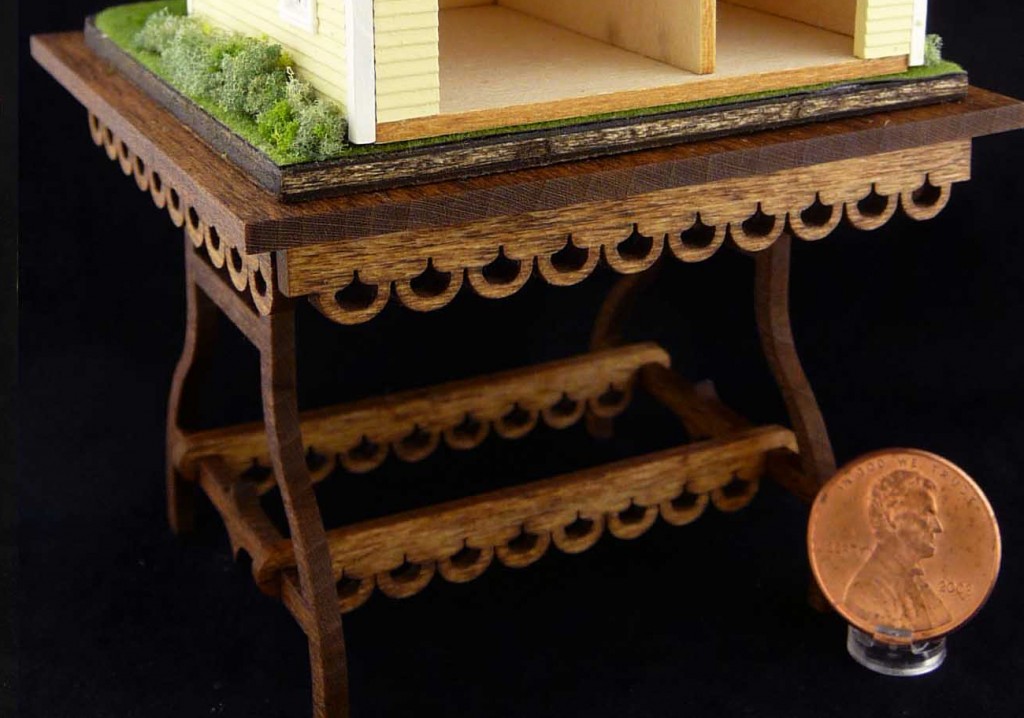
One Inch Scale Miniature Laser Tech Display Table Kit
Wooden square for landscaping base (cut to size of table top – purchased at craft store)
Round and flat toothpicks
Green Grass Sheet
Woodland Scenics Coarse Turf – Light Green, Medium Green and Dark Green
Green Poly Fiber Landscaping Material for vines
Green & Colored Fine Turf Landscaping Material
Craft sand
Tacky Glue
Paint for roof, house and trees
Wood stain for table
Wax paper for work surface
Tools Needed
Small Hand Drill or Drill Bit (diameter of a toothpick)
Tweezers
Paint brushes
Instructions
Assemble Kits
1. Stain table kit pieces as desired. Set aside to dry.
2. Paint house kit pieces as desired. Set aside to dry.
3. Assemble table according to manufacturer’s instructions. Set aside for glue to dry.
4. Assemble house according to manufacturer’s instructions. Set aside for glue to dry.
Grass & Walkway
5. Cut grass material to fit square and glue on.
6. Position house on square so that the back edge of the house is aligned with the back edge of the square.
7. Make steps to the house using flat toothpicks – cut to fit and stack, glue together and paint. Glue on base in front of door.
8. Spread a line of glue leading to the front steps, and sprinkle with craft sand to make a walkway. Tap against table over wax paper to remove the excess sand.
Vines, Trees & Bushes
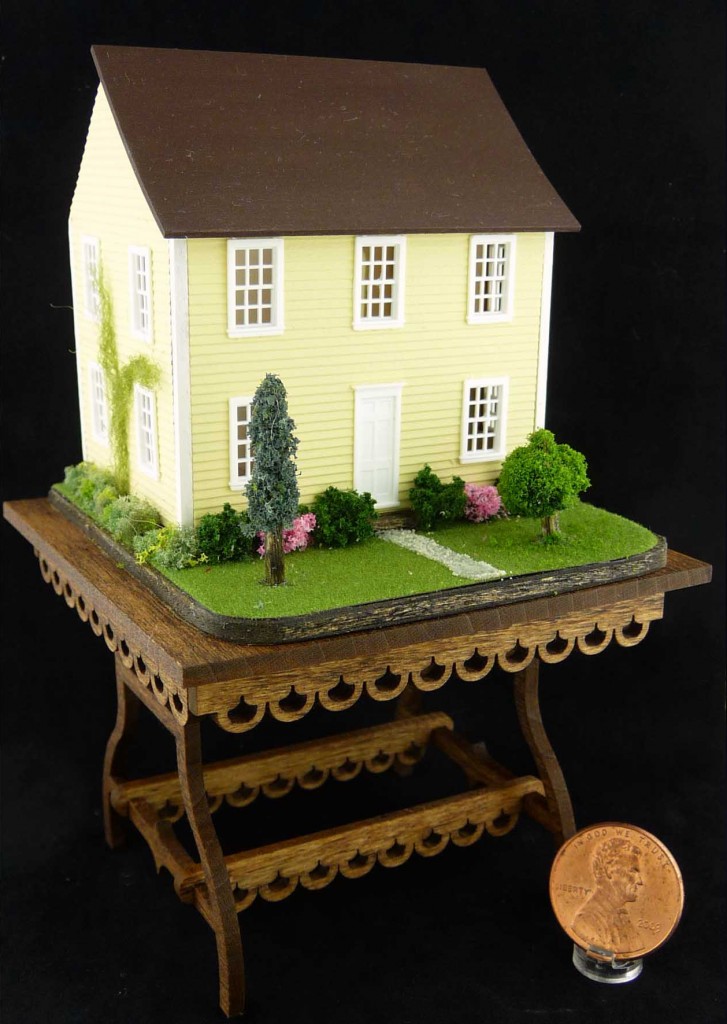
9. Decide where you would like trees in the yard. You can refer to the photo for ideas on landscaping or arrange as you desire. Using your hand drill or just a small drill bit, drill small holes (diameter of a toothpick) in the grass-covered square. Cut off the sharp ends of the round toothpicks and paint the color you’d like the tree trunks.
10. For the deciduous tree, use a small clump of the clumping landscaping material. Cut your toothpick a little long (to fit in the hole), dip one end in glue and then in the clump of material (using tweezers will help). Dip the other end in glue and fit into a hole in the yard.
11. Repeat for evergreen tree, except use the loose landscaping material – this may need two or three coats to reach the desired effect.
12. For the vine, use the stringy material and glue on the side of the house as desired. Use small clumps for bushes. Dip the clumps in glue and then colored materials to make flowering bushes.
You are finished! I hope you enjoyed the project and learned some new skills. If you have any suggestions, corrections or comments, please let me know!
Copyright 2011 Kathryn Depew
Have you tried this project? Please comment below and leave your ideas and suggestions! Would you like to share your creation? Please contact me!
Related articles

