Miniatures Needed (for Coconut Raspberry Cake)
Miniature Knife & Fork
Miniature Dessert or Salad Plate
Chrysnbon Miniature Cakeplate & Candlesticks Kit or Other Miniature Cakeplate
Jeannetta Kendall Miniatures Round Doily
Supplies Needed (for Coconut Raspberry Cake)
Crayola Model Magic Air-Drying Clay (White)
Roman Golden Harvest Teknabond Multipurpose Powder Paste/Size (resembles miniature coconut)
Wax Paper & Tape
Small Piece of Styrofoam
Tacky Glue & Toothpicks
Glass Stain– Raspberry Color
White Fabric Paint (Slick or Matte)
New single-sided razor blade
3/4″ – 1″ diameter Circle Cutter or M&C Creations Miniature Cake Pans
Instructions
1. Tape wax paper on work surface to protect it.
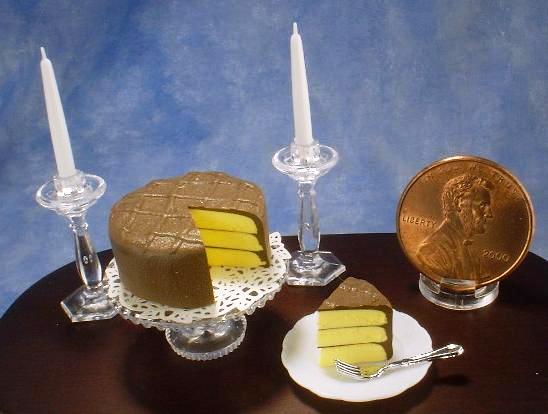
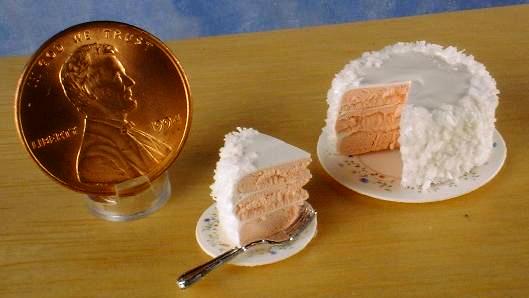
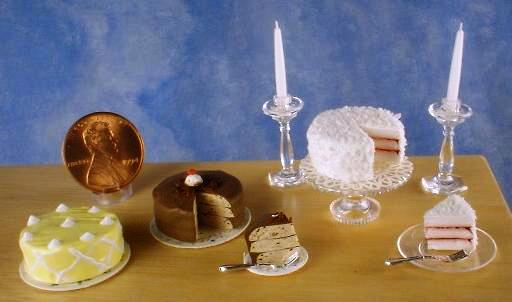
2. Cake Layers: Using miniature cake pans by M&C Creations: sprinkle baby powder in the cake pans. Fill about 2/3 full of white crayola model magic. (To make other “flavors” of cake, mix in the appropriate color of acrylic paint into the model magic before you fill the cake pans – see pictures for ideas.) Let dry in pan, or to speed drying, tip layers out of pans. Fill one pan again for third layer.
Alternative: Roll out model magic to approximately 1/16″ inch thick. Cut circles using a 3/4″ – 1″ diameter round clay cutter.
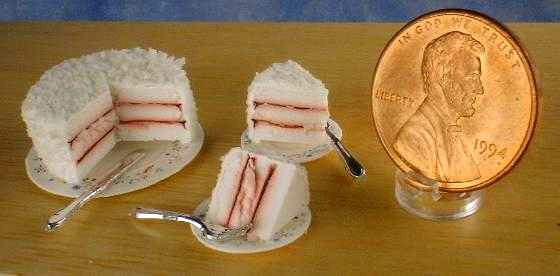
3. Put small bead of glass stain on one cake layer. Use toothpick to spread to 1/16” of edge. Place second layer on first, and spread glass paint on this layer in the same manner. Top with third layer. Gently apply pressure between thumb and forefinger to cake, top, bottom and sides to even out and make sure layers are straight. Try not to get glass stain on outside of cake. Set aside to dry.
4. Assemble Chrysnbon Cakeplate & Candlesticks Kit according to kit instructions. Set aside to dry.
5. Place cake upside down of wax paper. Gently insert a toothpick slightly off-center in bottom of cake; try to go through all three layers without puncturing top layer. Use this to hold the cake while you are frosting it. (Note, the frosting and coconut cover up a lot of errors!)
6. Squeeze a small amount white fabric paint onto your wax paper – about the size of a quarter. Spread frosting on sides and top of cake. Not too thick, you’ll be putting on a second coat. Try not to get any paint on the bottom of the cake. Stick the toothpick in the Styrofoam to hold the cake while it dries.
7. Spread a thick layer of “coconut” (Teknabond Wall Size) on your wax paper the size of a quarter. Holding a cake with the toothpick in the bottom, spread another layer of frosting on top and sides of cake, trying not to get any on the bottom. Gently tap top and sides of wet cake into coconut, coating it thoroughly. Set toothpick in Styrofoam again to dry.
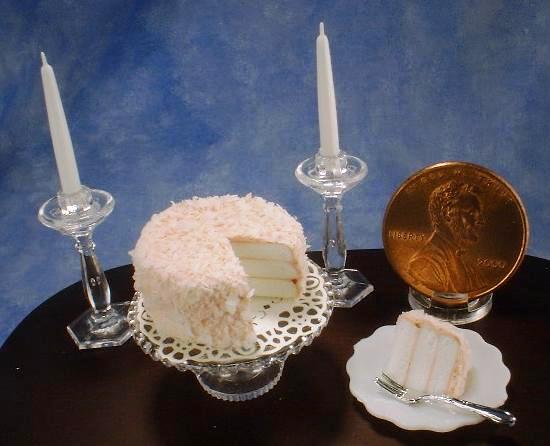
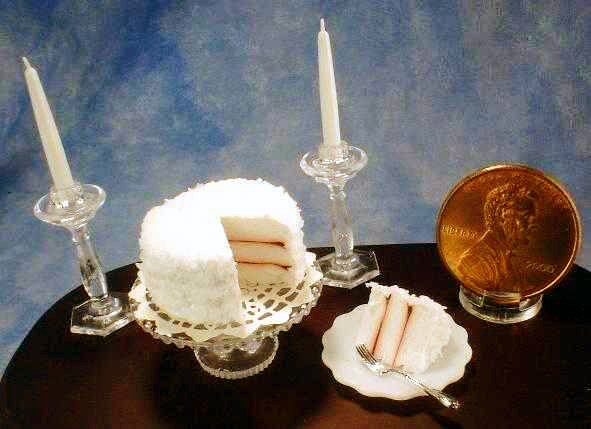
8. After the cake is dry, remove the toothpick. Turn upside down on wax paper. Use new razor blade to gently cut slice from the cake using a sawing motion, avoiding the hole the toothpick made. If you are not satisfied with the looks of the cake after cutting out a slice, cut the entire cake into slices, or just leave one or two slices on the cake stand. Glue the extra slices on individual small plates and “sell” them by the slice in your miniature bakery, or set a table with them in your dollhouse!
9. Glue round doily to Chrysnbon cakeplate, then glue cake to doily and slice to small plate. Glue a knife on cakeplate and fork next to the slice on plate. You’re finished!
Copyright 2003 – 2012 Kathryn Depew
Have you tried this project? Please comment below and leave your ideas and suggestions! Would you like to share your creation? Please contact me!
Related articles
- Living Miniature Garden at the Huntsville Botanical Garden (cottonridgellc.com)
- Missouri in May (cottonridgecreate.com)
- Welcome To Cotton Ridge Miniatures! (cottonridgeminiatures.com)

